Valve guide repair is essential for maintaining engine performance and preventing further damage. Learn how to identify issues, choose the right tools, and execute a successful repair.
Overview of Briggs and Stratton Engines
Briggs & Stratton engines are renowned for their reliability, durability, and innovative design. These engines power a wide range of equipment, from lawn mowers and generators to pressure washers and snow blowers. Known for their efficient combustion chambers, robust cooling systems, and precision engineering, Briggs & Stratton engines deliver consistent performance under varying conditions. Their popularity stems from their ability to balance power and fuel efficiency, making them a preferred choice for both professionals and DIY enthusiasts. Over the years, the company has introduced advancements like overhead valve (OHV) technology and V-twin designs, enhancing engine longevity and output. This legacy of excellence underscores the importance of proper maintenance, including critical repairs like valve guide replacements, to sustain optimal performance and extend the engine’s lifespan.
Importance of Valve Guides in Engine Performance
Valve guides are critical components in Briggs & Stratton engines, ensuring proper valve alignment and smooth operation. They play a vital role in maintaining engine efficiency, preventing oil leakage, and reducing wear on moving parts. By guiding the valves precisely, they help maintain the seal within the combustion chamber, which is essential for optimal power output and fuel efficiency. Over time, worn or damaged valve guides can lead to poor engine performance, increased oil consumption, and reduced reliability. Addressing valve guide issues promptly is crucial to avoiding more severe and costly damage to the engine. Regular inspection and maintenance of valve guides are key to sustaining the overall health and longevity of the engine.

Understanding the Problem
Valve guides wear out over time, causing issues like oil leakage and poor engine performance. Identifying and addressing these problems early is crucial for maintaining engine efficiency and reliability.
Common Symptoms of Faulty Valve Guides
Faulty valve guides often manifest through noticeable engine issues. Common symptoms include excessive oil consumption, blue smoke from the exhaust, and decreased engine performance. A loose or protruding valve guide can cause the valve to operate improperly, leading to poor compression and misfires. Additionally, you may notice unusual engine noises, such as clattering or tapping sounds, especially during acceleration or under load. Over time, this can result in bent pushrods or damaged rocker arms. If left unaddressed, these issues can escalate, causing more severe damage to the engine. Identifying and addressing these symptoms early is crucial to prevent costly repairs and ensure optimal engine function.
Causes of Valve Guide Failure
Valve guide failure in Briggs and Stratton engines often stems from wear and tear over time. The valve guides are subject to constant friction from the valve stems, leading to gradual wear. Engine overheating can exacerbate this issue, causing the guides to become brittle or warp. Additionally, improper maintenance, such as infrequent oil changes or using the wrong type of oil, can accelerate wear. In some cases, mechanical stress from high RPM operations or improper valve adjustments can also contribute to guide failure. Once the guides wear out, they can become loose or misaligned, leading to further engine problems. Understanding these causes is key to preventing future issues and ensuring a successful repair.
Diagnosing Valve Guide Issues

Diagnosing valve guide issues in Briggs and Stratton engines involves identifying specific symptoms and performing targeted tests. Common indicators include excessive oil consumption, blue smoke from the exhaust, and increased engine noise. A compression test can reveal low compression, which may point to valve guide problems. Additionally, a leak-down test can help pinpoint air leaks caused by worn or damaged guides. Visual inspection of the valve train, looking for movement or wear on the guides, is also essential. In some cases, removing the cylinder head may be necessary for a thorough examination. Proper diagnosis ensures accurate repair and prevents further engine damage. Using specialized tools, such as valve guide reamers and bushings, can aid in assessing the condition of the guides effectively.
The repair kit includes specialized tools and components necessary for effectively fixing worn or damaged valve guides in Briggs and Stratton engines.
Components of the Repair Kit
A typical Briggs and Stratton valve guide repair kit includes essential components like valve guide bushings, reamers, and guide bushings to restore proper valve alignment. These parts are specifically designed to address wear and tear, ensuring optimal engine performance. Additionally, the kit may contain O-rings or seals to prevent leaks and maintain compression. Some kits also provide detailed instructions or a manual to guide the repair process. For precise repairs, tools like reamer 19183 and guide bushing 19192 are often included. These components are engineered to fit various Briggs and Stratton engine models, making the repair process more efficient and reliable. Always verify the kit’s contents match your engine’s specifications for a successful repair.
How to Choose the Right Repair Kit
To select the appropriate Briggs and Stratton valve guide repair kit, start by identifying your engine’s exact model, type, and serial numbers. These details will help you find a kit compatible with your specific engine. Ensure the kit includes necessary components like reamers, guide bushings, and any required tools. Check if additional parts such as valve seats or springs are needed based on the extent of the damage. Consider whether specialized tools are included or must be purchased separately. Assess your mechanical skill level to choose a kit that matches your expertise. Compare prices and look for reputable brands to avoid counterfeit parts. Finally, ensure the kit aligns with your engine’s specifications for a successful repair.
Where to Purchase the Repair Kit
Briggs and Stratton valve guide repair kits can be purchased through various channels. Visit authorized Briggs and Stratton dealers for genuine parts. Online retailers like Amazon and eBay offer a wide selection, but ensure you verify seller authenticity. Specialty small engine repair shops often carry these kits and can provide expert advice. Additionally, the official Briggs and Stratton website allows you to search by engine model for compatible repair kits. Always confirm the kit’s compatibility with your engine’s specific model and type before making a purchase. Be cautious of counterfeit products and opt for reputable sellers to ensure quality and reliability. Purchasing from trusted sources guarantees that your repair kit meets the necessary specifications for a successful repair.
Step-by-Step Repair Process
Remove the old guide, ream the housing, and install the new guide using specialized tools like a reamer and bushing. Follow precise measurements for accuracy.
Preparing for the Repair
Gather tools and materials, including the repair kit, reamer, and guide bushing. Locate and remove the engine head, ensuring all bolts are accessible. Clean the valve guide area thoroughly. Remove the old guide and measure the housing to ensure proper fit. Check for damage or wear, and ream if necessary. Install the new guide, aligning and seating it correctly. Reassemble components carefully to avoid leaks. Consider preventative maintenance to prevent future issues and address the root cause of the failure for long-term reliability.
Tools and Materials Needed
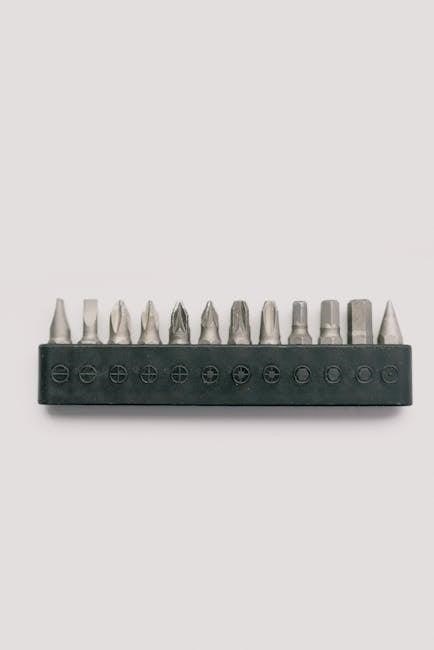
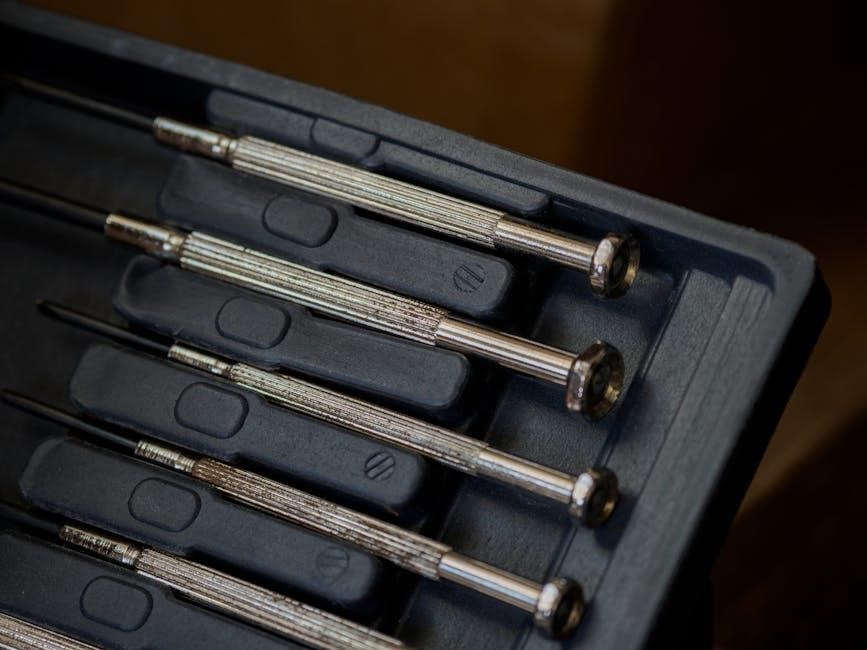
To successfully repair the valve guide, you’ll need specific tools and materials. Start with a Briggs and Stratton valve guide repair kit, which typically includes a new valve guide and necessary bushings. Additionally, you’ll require a reamer, specifically part number 19183, and a guide bushing, part number 19192, to ensure precise alignment and sizing. Basic tools like wrenches, screwdrivers, and pliers are essential for disassembly. Safety gear such as gloves and safety glasses is crucial for protection. Cleaning supplies, including solvent and rags, will help prepare the area around the valve guide. Finally, consider purchasing part number 230655 for the new valve guide bushing to complete the repair effectively.
Installing the New Valve Guide
Once the old guide is removed, clean the area thoroughly to ensure proper installation. Use the reamer (part number 19183) and guide bushing (part number 19192) to prepare the bore for the new guide. Carefully press the new valve guide into place, ensuring it is aligned correctly. Use a press or suitable tool to avoid damaging the guide or surrounding material. After installation, check the guide for proper fit and alignment. Ensure the valve stem moves smoothly within the new guide. Finally, reassemble the components and test the engine to confirm the repair was successful. Proper installation is critical to restore engine performance and prevent future issues.
Reassembly and Testing
After installing the new valve guide, carefully reassemble the engine components in the reverse order of disassembly. Tighten all bolts and fasteners to the manufacturer’s specified torque values. Reattach the rocker arm, ensuring proper alignment, and adjust the valve lash as needed. Replace the valve cover and gasket, making sure it is securely sealed. Once everything is reassembled, start the engine and listen for any unusual noises or leaks. Allow the engine to run for a few minutes to ensure proper operation. Check the valve train for smooth movement and verify that the issue has been resolved. Proper reassembly and thorough testing are crucial to ensure the repair’s success and prevent future problems.

Additional Tips and Considerations
Always use the correct tools and replacement parts to ensure a proper repair. Regular maintenance can prevent future valve guide issues. Seek professional advice if unsure.
Preventative Maintenance
Regular engine maintenance is key to preventing valve guide issues. Ensure proper lubrication, clean air filters, and check valve clearances. Address overheating promptly, as it can damage valve guides. Replace worn parts early to avoid costly repairs. Schedule periodic inspections to identify potential problems before they escalate. Keep the engine well-maintained to prolong its lifespan and performance. By following these steps, you can minimize the risk of valve guide failure and keep your Briggs and Stratton engine running smoothly for years to come. Consistent upkeep not only saves time but also reduces the need for major repairs down the line.

Troubleshooting Common Post-Repair Issues
After repairing the valve guide, issues like oil leaks, misalignment, or improper seating may arise. Check for loose connections or damaged gaskets, as these can cause leaks. Ensure the new guide is properly aligned and seated to avoid misalignment. If the engine runs rough, inspect the valve clearance and adjust as needed. Verify that all tools were used correctly during installation to prevent damage. If issues persist, consult the repair manual or seek professional assistance. Regularly monitor engine performance post-repair to catch and address any problems early. Proper troubleshooting ensures long-term reliability and optimal engine function.
Repairing the valve guide on your Briggs and Stratton engine is a critical process to restore performance and prevent further damage. By using the correct repair kit and following proper installation steps, you can ensure long-term reliability. Regular maintenance and inspections are key to avoiding future issues. If problems arise post-repair, troubleshooting steps like checking alignments and seals can help resolve them quickly. Remember to consult the repair manual for specific guidance tailored to your engine model. With careful attention to detail and the right tools, you can successfully repair the valve guide and keep your engine running smoothly for years to come.


